How to Build a Cosplay Costume from Scratch: A Beginner’s Guide

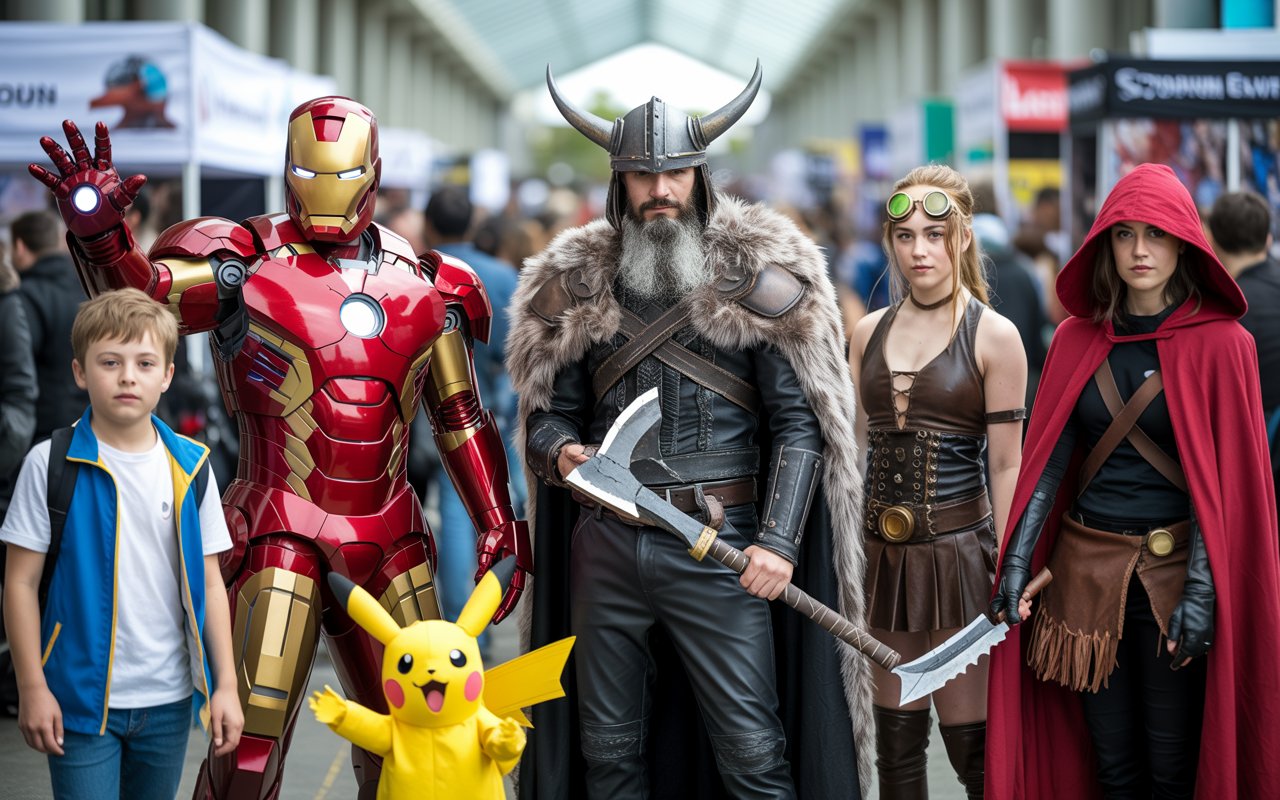
Cosplay—short for "costume play"—is a thriving subculture where fans embody their favorite characters from anime, movies, video games, or comics. Whether you're planning to attend Comic-Con, a local convention, or a photoshoot, creating a cosplay costume from scratch is both exciting and rewarding. But if you're new to the world of cosplay, it can also feel overwhelming.
This beginner’s guide will walk you through every essential step of building a cosplay costume from scratch—from concept to completion—so you can transform your passion into wearable art.
Why Make Your Own Cosplay Costume?

While buying a pre-made costume is easy, making your own offers several advantages:
- Customization: Tailor every detail to match your vision.
- Creativity: Express your craftsmanship and personal style.
- Budget Control: Often cheaper than professional-grade premade options.
- Satisfaction: There's nothing like the pride of saying, “I made this!”
Step 1: Choose the Right Character

If you're leaning toward historical cosplay, like knights, nobles, or fantasy-inspired characters, you’ll need different techniques and materials. For example, characters from fantasy RPGs or medieval-themed series often require detailed tunics, cloaks, and leather accessories. Here's an excellent step-by-step tutorial on how to make medieval costumes that breaks it down for beginners.
Your first decision is choosing a character. Here’s how to pick the right one for you:
Consider Your Interests
Choose someone you genuinely love. This makes the process enjoyable and helps you stay motivated.
Match Your Skills and Resources
If you’re a beginner, avoid characters with intricate armor or advanced LED lighting. Start simple and gradually take on more complex projects.
Think About Your Body Type and Comfort
While cosplay is inclusive and anyone can cosplay any character, consider your comfort level and how long you’ll wear the costume at an event.
Research Visual References
If you're interested in historical or fantasy cosplay, especially medieval styles, check out this excellent step-by-step tutorial on how to make medieval costumes for beginners. It offers detailed guidance on building authentic medieval looks, which can be a great inspiration for your cosplay project.
Gather screenshots or artwork of the character from multiple angles. Look for:
- Outfit details
- Color palette
- Props and accessories
- Hairstyle and makeup
Understanding Different Cosplay Styles
Cosplay spans countless genres and styles, from medieval fantasy to futuristic sci-fi and vibrant anime. If anime cosplay interests you, this complete guide to anime costumes explains the origins, popular trends, and cultural impact of anime costumes, helping you better appreciate and recreate your favorite characters.
Step 2: Break Down the Costume into Components
Instead of seeing the costume as one big task, break it into manageable parts. Here’s how to categorize:
-
Clothing Pieces: Shirt, pants, dress, cloak, etc.
-
Props & Weapons: Staffs, swords, guns, wands, etc.
-
Armor: Breastplates, gauntlets, shin guards.
-
Accessories: Belts, gloves, pouches, jewelry.
-
Shoes/Boots: Consider comfort and functionality.
-
Wigs and Hairpieces: If your character has a distinct hairstyle.
-
Makeup and Body Paint: Especially important for fantasy characters.
Breaking it down helps you focus on one task at a time.
Step 3: Plan and Budget Your Project
Before you buy materials or start sewing, you need a plan.
Make a Supply Checklist
Include:
- Fabric types
- Foam, Worbla, or EVA (for armor)
- Paints and adhesives
- Sewing patterns
- Tools (e.g., hot glue gun, scissors, X-Acto knife)
Estimate Time
Give yourself plenty of time, especially if you’re preparing for a convention. Building from scratch can take weeks or months.
Set a Budget
Track all expenses from start to finish. DIY costumes can be more affordable, but costs can add up with materials, tools, and last-minute fixes.
Step 4: Source Your Materials
Now it’s time to gather what you need. You can source materials from:
Fabric Stores
Look for:
- Cotton: Easy to sew and breathable.
- Spandex/Lycra: Great for superhero costumes.
- Velvet/Satin: Adds texture and elegance.
Craft Stores
Great for:
- Foam sheets
- Acrylic paints
- Glue and adhesives
Online Retailers
Websites like Amazon, Etsy, and AliExpress are helpful for wigs, accessories, or hard-to-find items.
Thrift Stores
Excellent for base garments, belts, and shoes that you can modify.
Step 5: Create a Costume Pattern or Use Existing Ones
A pattern is a template that guides your costume construction.
Option 1: Use Commercial Patterns
Brands like Simplicity, McCall’s, and Butterick offer cosplay lines. Modify them to suit your character.
Option 2: Draft Your Own Pattern
If you're artistic, you can draw your own based on reference images and measurements.
Option 3: Use Free or Paid Online Patterns
Cosplayers often share patterns in forums or on Patreon. These can save you time.
Step 6: Sewing and Constructing the Costume
Time to put your skills to work! Whether you hand-sew or use a machine, follow these tips:
Sewing Tips for Beginners
- Use a sewing machine to save time.
- Always iron your fabric before cutting.
- Pin your pieces together before sewing.
- Test stitches on scrap fabric.
No-Sew Alternatives
Use:
- Fabric glue
- Double-sided fashion tape
- Safety pins
Foam and Armor Construction
If your character wears armor:
- Use EVA foam or Worbla.
- Heat-shape pieces with a heat gun.
- Use contact cement or hot glue.
- Seal with Plasti Dip before painting.
Step 7: Paint and Add Detail
Details make your costume pop and elevate it from good to great.
Painting Tips
- Use acrylic paint for foam and plastic.
- Spray paint for a smooth base layer.
- Use dry brushing to add texture and weathering.
- Always seal paint with a clear coat.
Small Embellishments
- Add buttons, jewels, rivets, or LED lights.
- Use a hot glue gun for fast attachment.
- Be patient—small touches make a big difference.
Step 8: Wig Styling and Hair

Wigs are a huge part of many characters’ appearances.
Choosing the Right Wig
-
Use heat-resistant synthetic wigs.
-
Match the color, length, and texture of your character.
Wig Styling Tips
- Use a wig stand.
- Use hairspray, hair glue, or a flat iron for styling.
- Trim cautiously using hair-cutting scissors.
Step 9: Makeup and Final Touches
Makeup completes the transformation, especially for anime or fantasy characters.
Makeup Essentials
- Foundation, concealer, and powder for smooth skin.
- Eyeliner and mascara for definition.
- Bold eyeshadow and lipstick to match your character.
- Body paint for unnatural skin tones (blue, green, etc.).
Practice Before the Event
Do a full makeup run with the wig and costume to see the complete look.
Step 10: Test and Troubleshoot

Before you wear it in public, do a full test:
Wear Test
- Try moving, sitting, walking, and posing.
- Check if any parts fall off or shift.
- Note where it’s uncomfortable and adjust.
Emergency Repair Kit
Bring this to every convention:
- Safety pins
- Glue gun
- Extra thread and needle
- Duct tape
- Small scissors
Tips for First-Time Cosplayers
Here are extra tips to make your first build smoother:
Start Small
Choose a character with simple clothes and minimal props.
Join the Community
Cosplay forums, Reddit, Discord, and Facebook groups are full of tutorials, support, and feedback.
Don’t Compare Yourself
Everyone starts somewhere. Enjoy the learning process.
Document Your Progress
Take photos as you build. It’s great for motivation and future tutorials.
Popular Beginner-Friendly Cosplay Ideas
If you're unsure where to begin, check out this list of 20 Creative Cosplay Ideas for Every Skill Level to get inspired. It includes options for beginners, intermediates, and advanced cosplayers—so you’re sure to find a character that fits your comfort zone.
Some beginner-friendly favorites include:
- Luffy (One Piece): Simple outfit and iconic hat.
- Ash Ketchum (Pokémon): Minimal sewing, easy props.
- Mario or Luigi (Nintendo): Overalls and a mustache.
- Wednesday Addams (The Addams Family): Simple dress and braids.
- Kiki (Kiki’s Delivery Service): Basic dress and bow.
Frequently Asked Questions (FAQs)
1. How long does it take to make a cosplay costume?
Anywhere from a weekend to several months, depending on complexity and how much time you can dedicate weekly.
2. Is it cheaper to make or buy a cosplay costume?
Generally, making your own is cheaper—especially if you already have basic tools or can reuse materials.
3. What tools should every beginner have?
- Sewing kit
- Hot glue gun
- Scissors
- Measuring tape
- Heat gun (for armor)
- Paintbrushes
4. What if I make mistakes?
Mistakes are part of the process. Learn from them and improve. Many great costumes are full of clever fixes!
Conclusion: Start Your Cosplay Journey Today
Building a cosplay costume from scratch is an empowering experience. Not only do you bring a beloved character to life, but you also gain new skills in crafting, painting, sewing, and design. With patience, creativity, and a step-by-step plan, anyone can succeed in cosplay—even beginners.
So pick your favorite character, gather your supplies, and take that first step. Your cosplay journey starts now—and the possibilities are endless.
Bonus Resources for Beginners
-
YouTube Channels: Kamui Cosplay, Kinpatsu Cosplay, Punished Props Academy
-
Websites: Cosplay.com, RPF (Replica Prop Forum), Etsy for patterns
-
Books: "The Hero's Closet" by Gillian Conahan, "Foamsmith" by Bill Doran


