
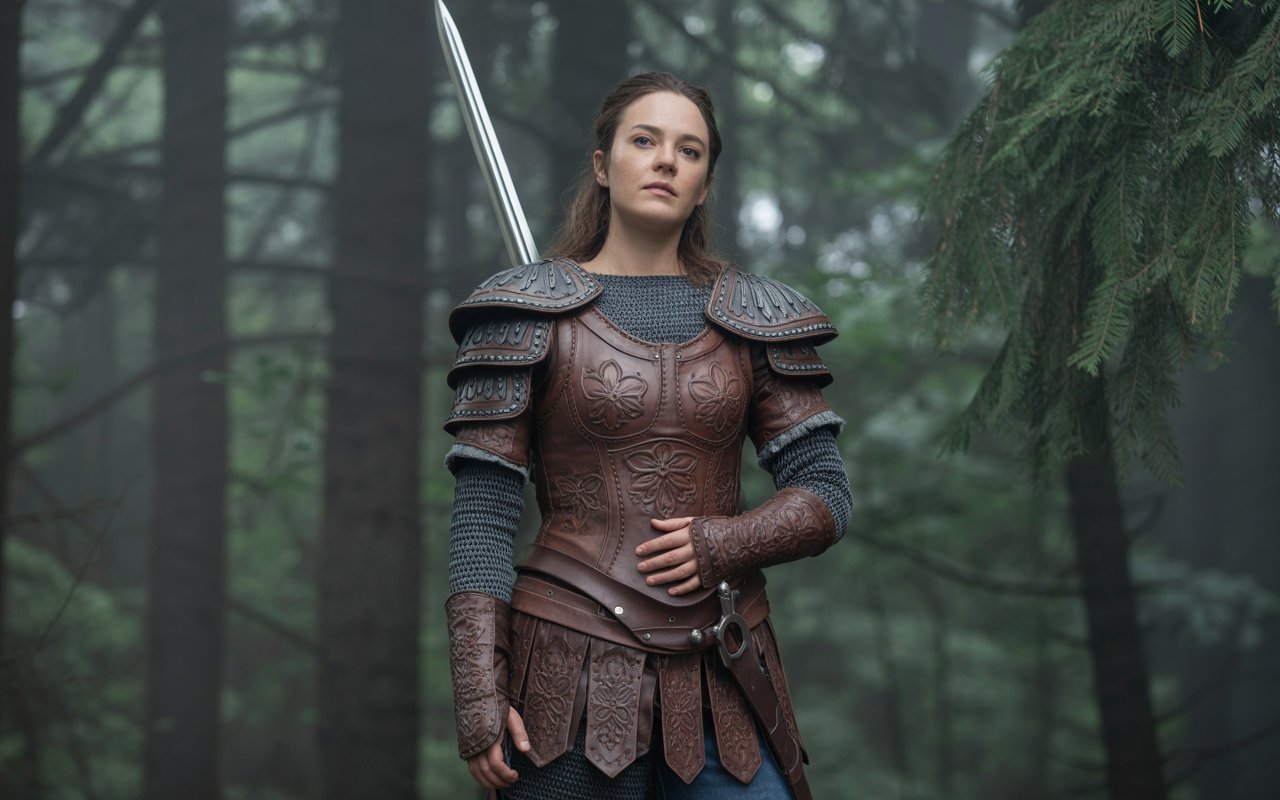
Creating a medieval costume from scratch is a rewarding journey into history, craftsmanship, and creativity. Whether you're preparing for a historical reenactment, a Renaissance fair, a cosplay event, or a school project, understanding how medieval garments were made and worn is essential to crafting an authentic look. This step-by-step tutorial will guide you through the process of making your own medieval costumes, including fabric choices, pattern creation, sewing techniques, and accessory ideas.
Understanding Medieval Clothing

Before beginning the costume-making process, it helps to understand the basics of medieval fashion. Medieval Europe spanned roughly from the 5th to the 15th century, and clothing styles varied depending on the region, period, and social class. However, some common garments included:
-
Tunics – worn by both men and women, typically knee- or ankle-length
-
Kirtles – fitted gowns worn by women
-
Surcoats – outer garments worn over tunics or gowns
-
Cloaks and mantles – for warmth and status display
-
Hose or leggings – worn by men
-
Headwear – including coifs, veils, and hoods
Each garment served a functional and symbolic purpose, reflecting one's role in society and the time period.
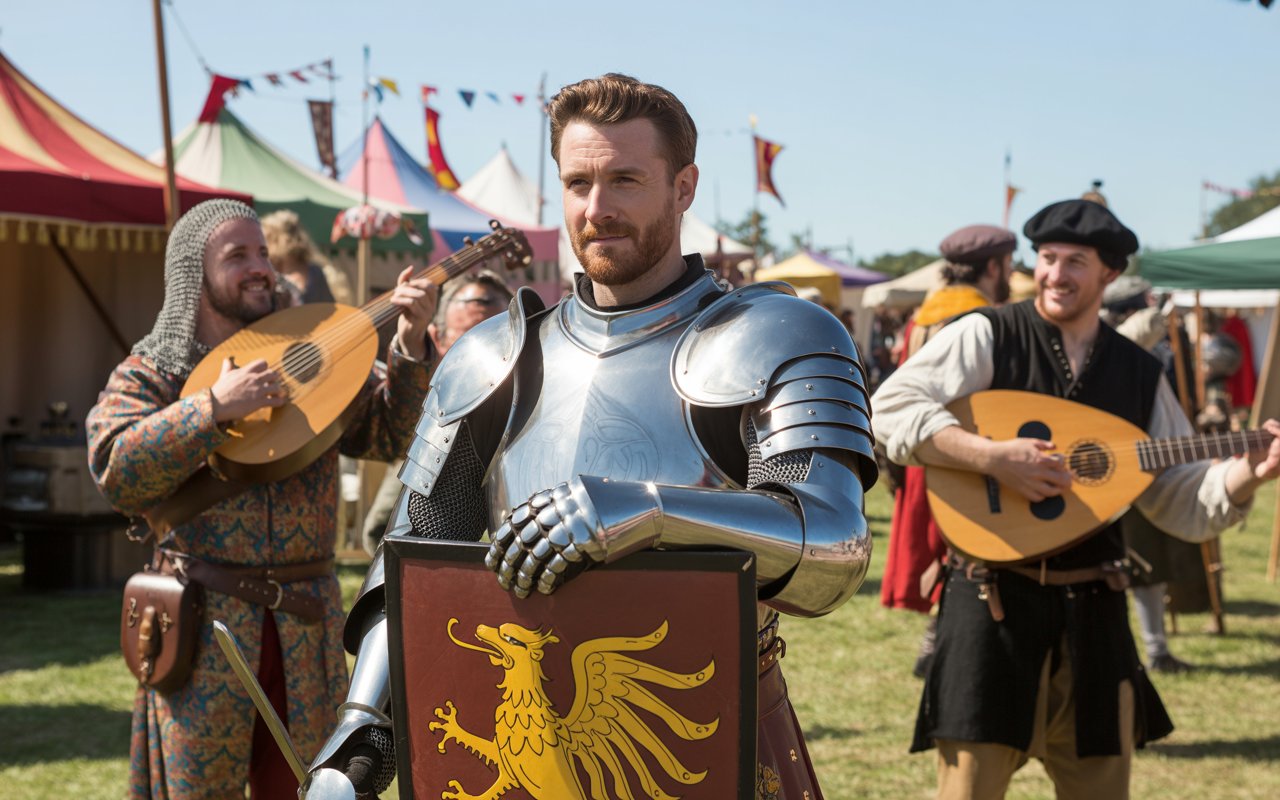
Step 1: Choose a Historical Period and Role

Start by deciding which part of the medieval era you want to represent. This choice affects the cut, fabric, and layers of your costume. Additionally, choose a social role such as:
-
Peasant
-
Merchant
-
Knight
-
Noblewoman
-
Monk or Nun
Each role had distinct clothing, and staying consistent will help you build a coherent and historically grounded outfit.
Step 2: Gather Reference Materials

Study paintings, sculptures, manuscripts, and historical sources from the period you’re interested in. Look for:
-
Visual depictions of clothing
-
Museum collections of medieval garments
-
Historical fashion books
-
Online archives with manuscript illustrations
These references help ensure that the design, fabric, and construction methods stay true to the period.
Step 3: Choose Fabrics and Materials
Authentic medieval fabrics were typically made from natural fibers such as:
-
Wool – the most common material for outer garments
-
Linen – used for undergarments and shirts
-
Silk – reserved for the upper classes and ceremonial garments
-
Cotton – introduced later in the medieval period
For accuracy, avoid synthetic fabrics. Also, keep colors natural—earth tones, muted greens, browns, and blues were common among working-class individuals, while brighter colors and dyed garments were more prevalent among the nobility.
Step 4: Make or Find a Pattern

Many medieval clothing were constructed from geometric shapes like rectangles and triangles, minimizing fabric waste. You can:
-
Draft your own pattern using measurements and geometry
-
Use historically inspired sewing patterns from books or open-source archives
-
Follow traditional cutting layouts, especially for tunics and cloaks
When drafting your pattern, measure yourself carefully. Add extra width for layers and movement if you’re sewing for outdoor or active use.
Step 5: Cut the Fabric
Lay your fabric flat and secure it with weights or pins. Use fabric chalk to trace your pattern. Ensure that:
-
The weave runs straight
-
All pieces are symmetrical
-
You leave seam allowances (typically ½ to 1 inch)
Cutting accurately is essential for ensuring a clean and wearable final product.
Step 6: Hand-Sew or Machine-Sew

While medieval garments were hand-stitched, you can use a sewing machine if you're not striving for full historical authenticity. For historical sewing, use:
-
Running stitch – for long seams
-
Backstitch – for strength in stress areas
-
Whip stitch or overcast – to finish raw edges
Use linen or wool thread for historical sewing. If you use a machine, opt for cotton thread that blends with your fabric.
Step 7: Assemble the Garments
Start with the innermost layer (like a linen shirt or chemise), then proceed to:
-
Sew the main body pieces – such as the tunic or gown
-
Attach sleeves – either sewn directly to the body or set into an armhole
-
Add facings or linings – for structure and comfort
-
Finish seams – using appropriate medieval techniques
-
Hem the edges – by hand or machine, depending on your method
Test the fit as you go, especially if you're not using a modern fitted pattern.
Step 8: Create Accessories and Layers
Accessories add historical depth and authenticity. Consider making:
-
Belts – leather or woven fabric
-
Pouches – worn at the waist
-
Cloaks or mantles – for warmth and flair
-
Headdresses – like veils, coifs, or hoods
-
Footwear – turnshoes or basic leather slippers
-
Laces or ties – instead of modern buttons or zippers
These elements not only complete the look but also reflect historical realities.
Step 9: Weathering and Finishing Touches

For a lived-in look, especially if portraying a working-class character:
-
Lightly distress the edges of the garments
-
Add patches or visible mending (if period-appropriate)
-
Use vegetable dyes or tea to age fabric naturally
For higher-status roles, ensure your garments are crisp, clean, and embellished appropriately with trims, embroidery, or heraldic motifs.
Step 10: Test and Adjust
Try on the full costume and move around in it. Check for:
-
Range of motion
-
Comfort
-
Proper layering and proportions
-
Historical silhouette
Adjust seams, hems, or fastenings as needed to achieve the best fit and functionality.
Additional Tips for Accuracy

-
Research layering: Many medieval outfits included multiple layers for insulation and modesty.
-
Avoid modern closures: Use ties, brooches, or lacing instead of zippers or Velcro.
-
Stay practical: Medieval clothing was designed for daily life, so ensure your costume allows for walking, sitting, and lifting.
-
Consult experts: Online forums, historical societies, and reenactment groups often share valuable insights and critiques.
Final Thoughts
Making a medieval cosplay costume is a deeply enriching experience that connects you to the craftsmanship of the past. By studying historical references, choosing natural materials, and applying traditional techniques, you can create a costume that not only looks accurate but also feels authentic to wear. Whether you’re stepping into the role of a 14th-century peasant or a noble knight, the effort you invest in your costume brings the medieval world vividly to life.
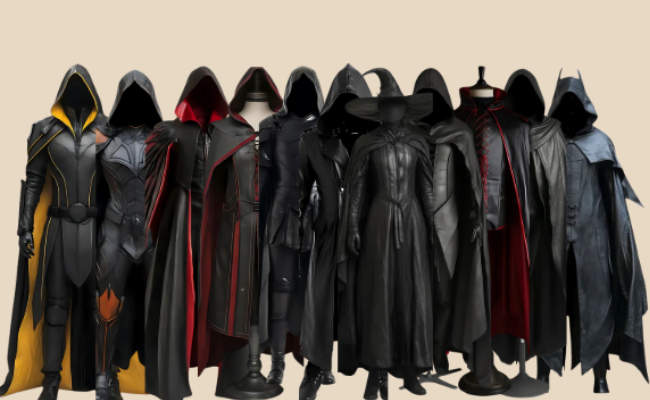
How to Make Medieval Leather Armor: Step-by-Step Guide
Learn how to make medieval leather armor with this detailed step-by-step guide. Discover the tools, materials, and crafting techniques needed to create authentic, durable leather armor perfect for cosplay, reenactments, or costumes. Start your medieval armor-making journey now!
Full Guide of making medieval leather armor handmade.